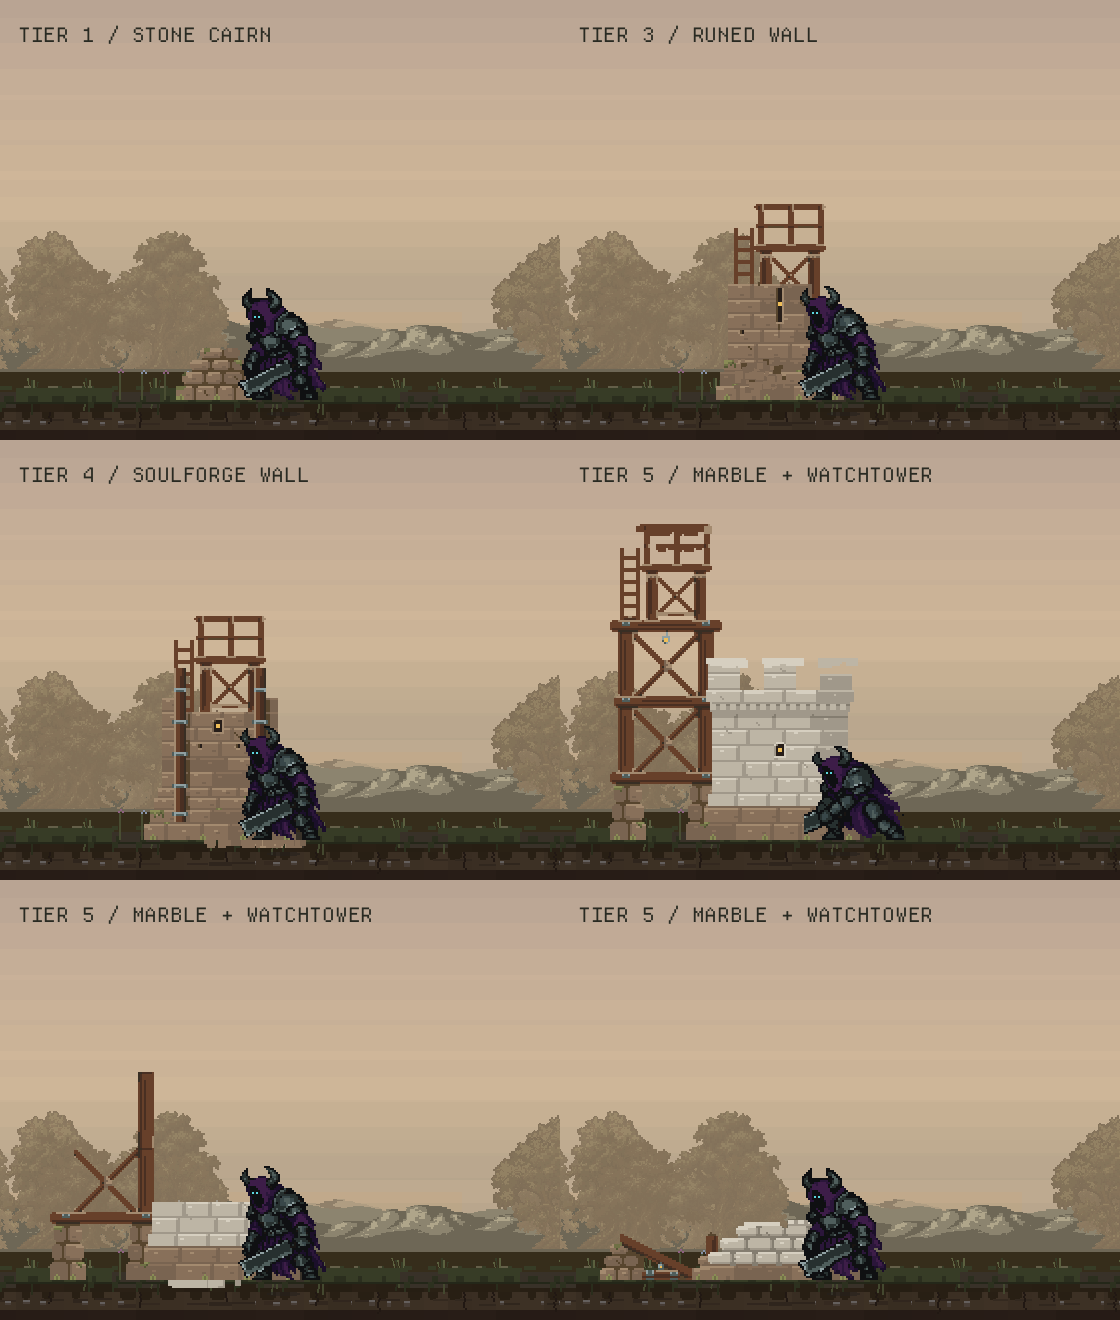
In our tour of Ghosthold’s biomes, we looked at the ground around your fire. Now it’s time to put something on it that might hold through the night.
Soul fragments are both your life and what you spend to grow the settlement. Giving some of that life to a stronger wall should feel like you’ve built something. We want you to see it happen, one stone, stake and beam at a time.
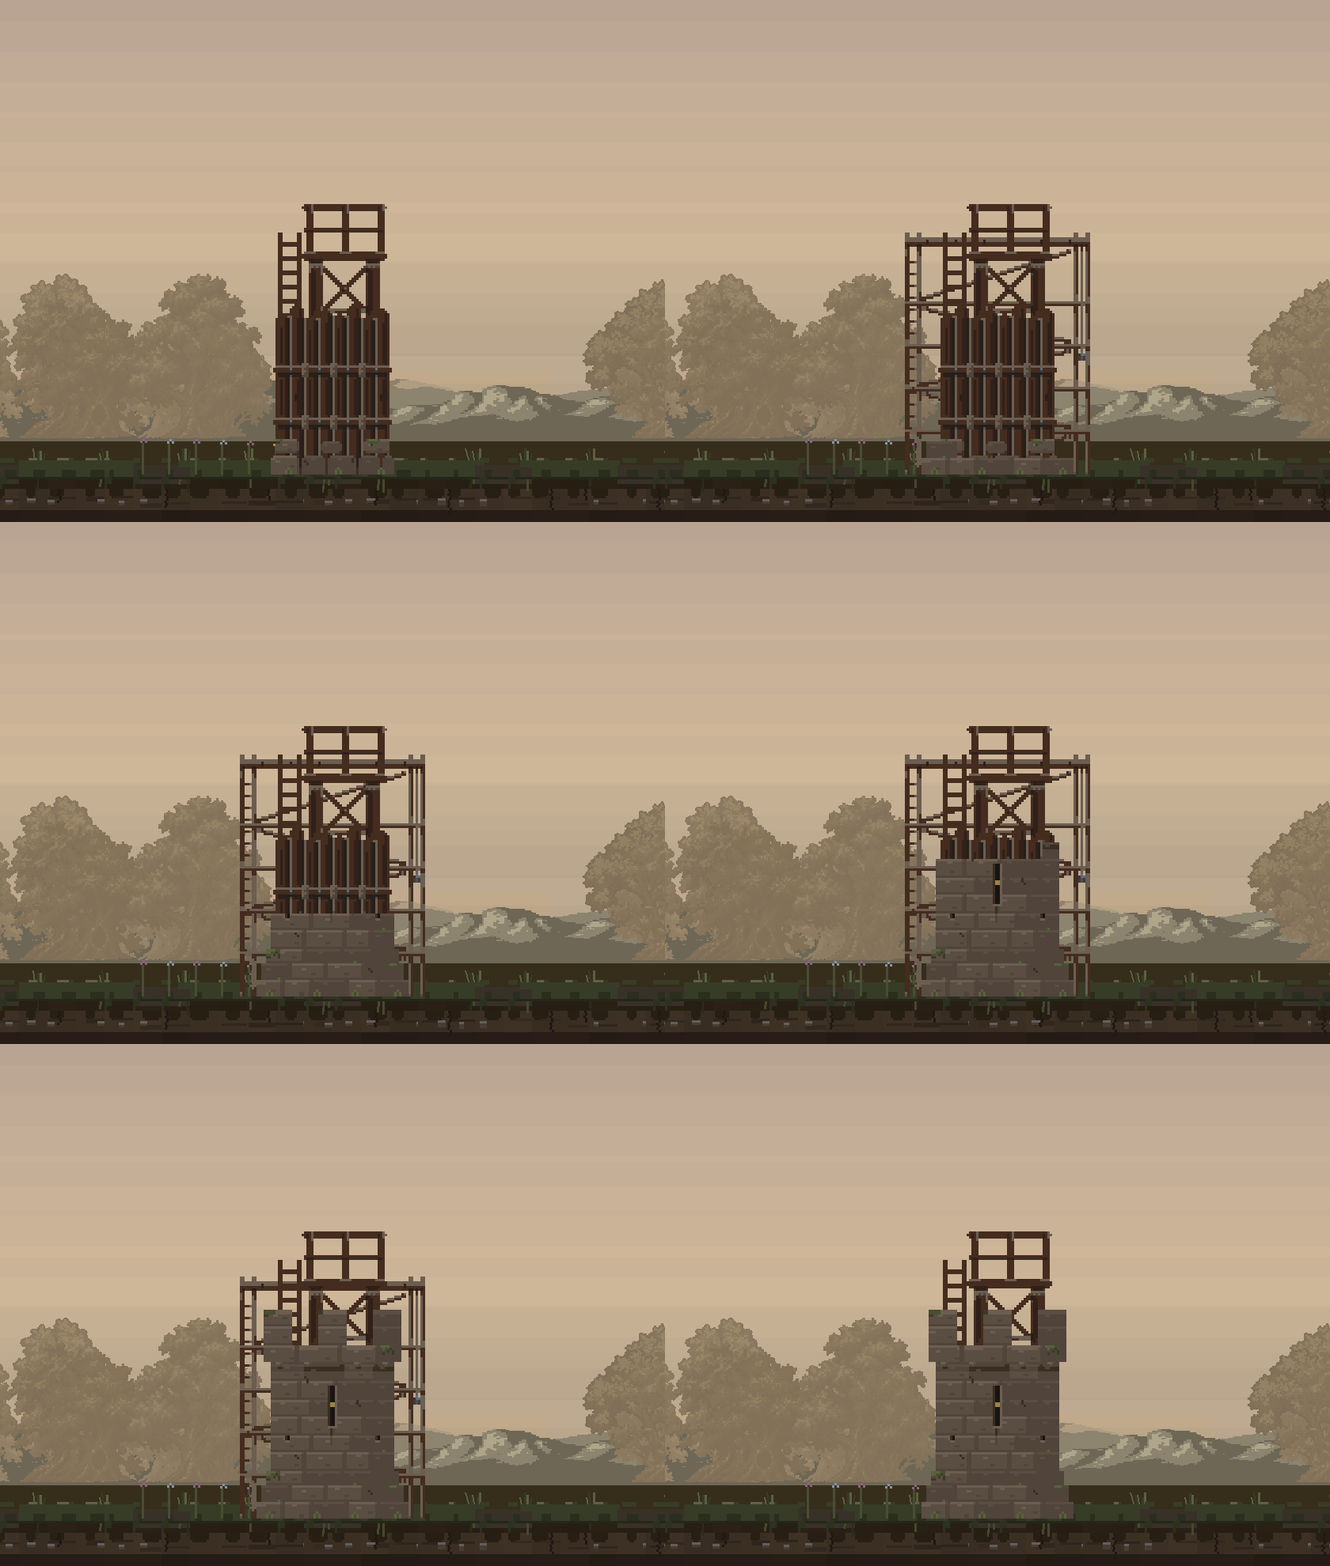
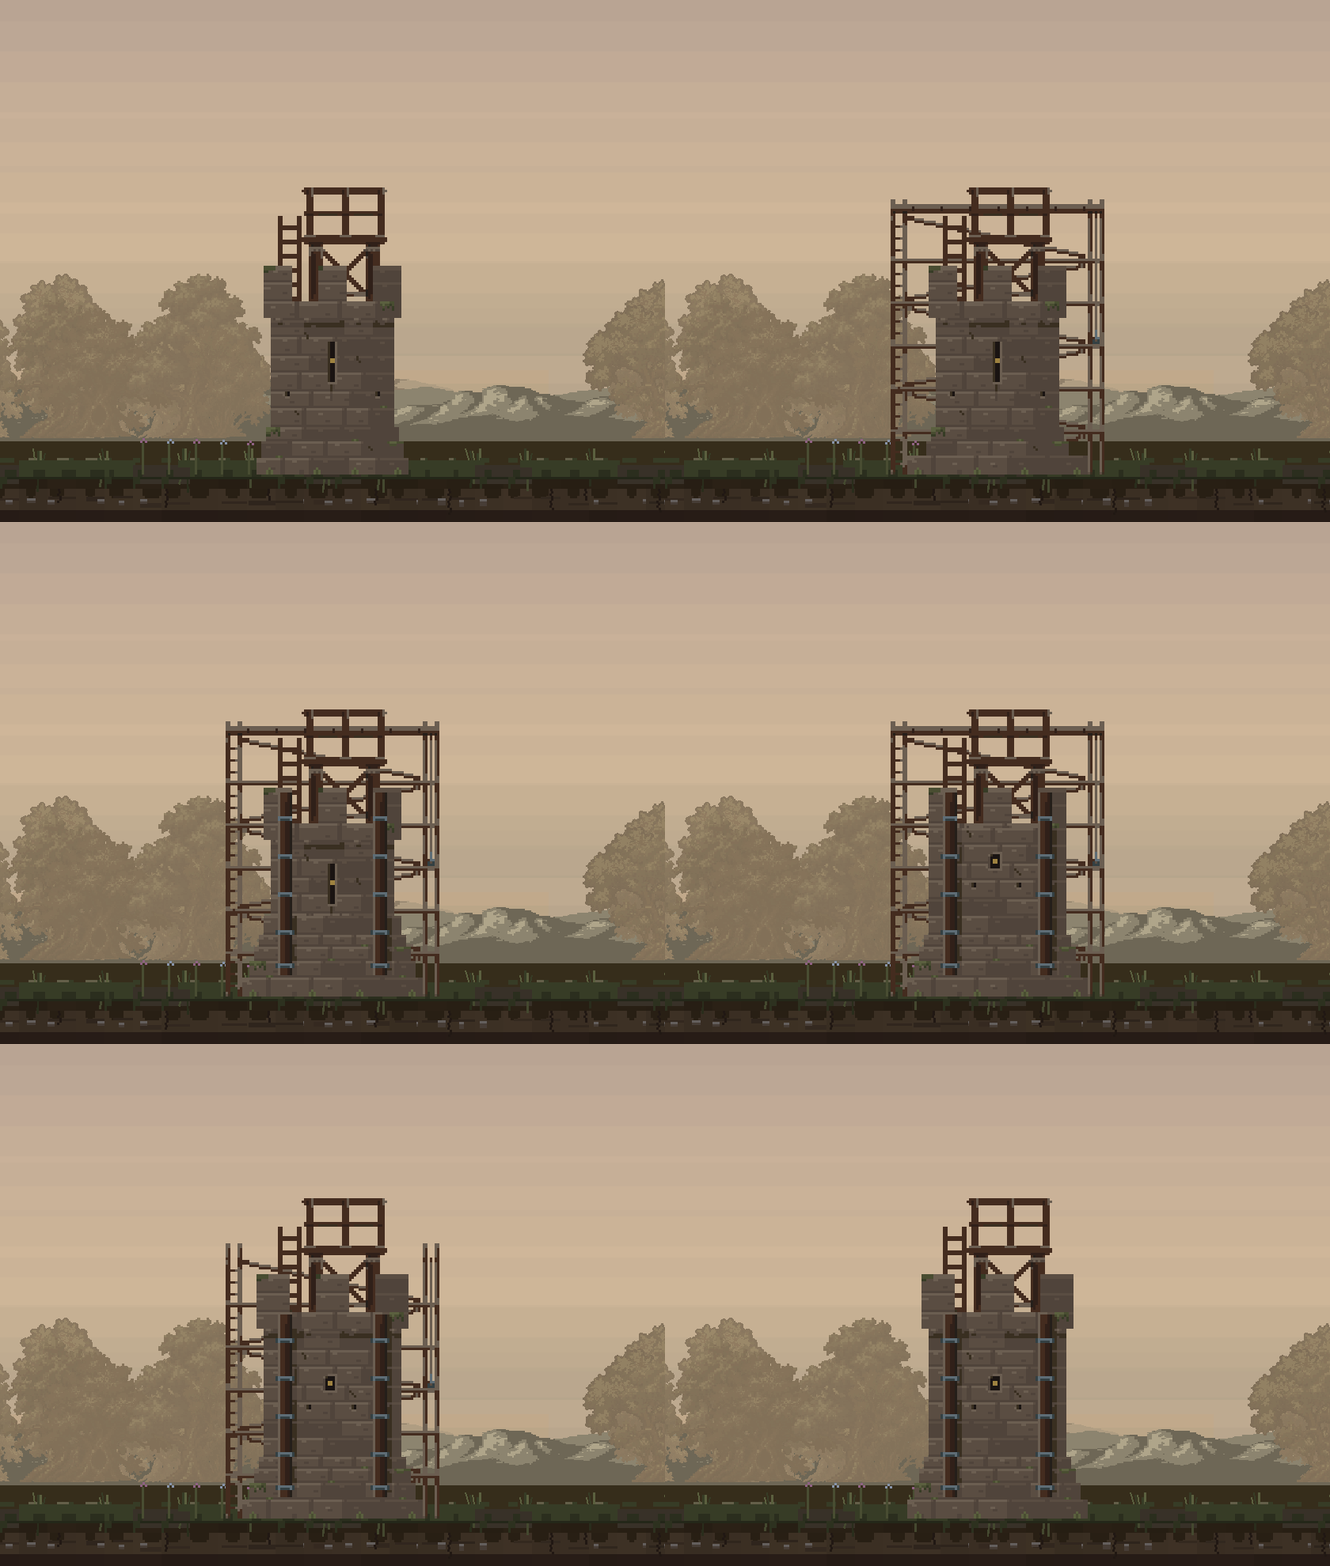
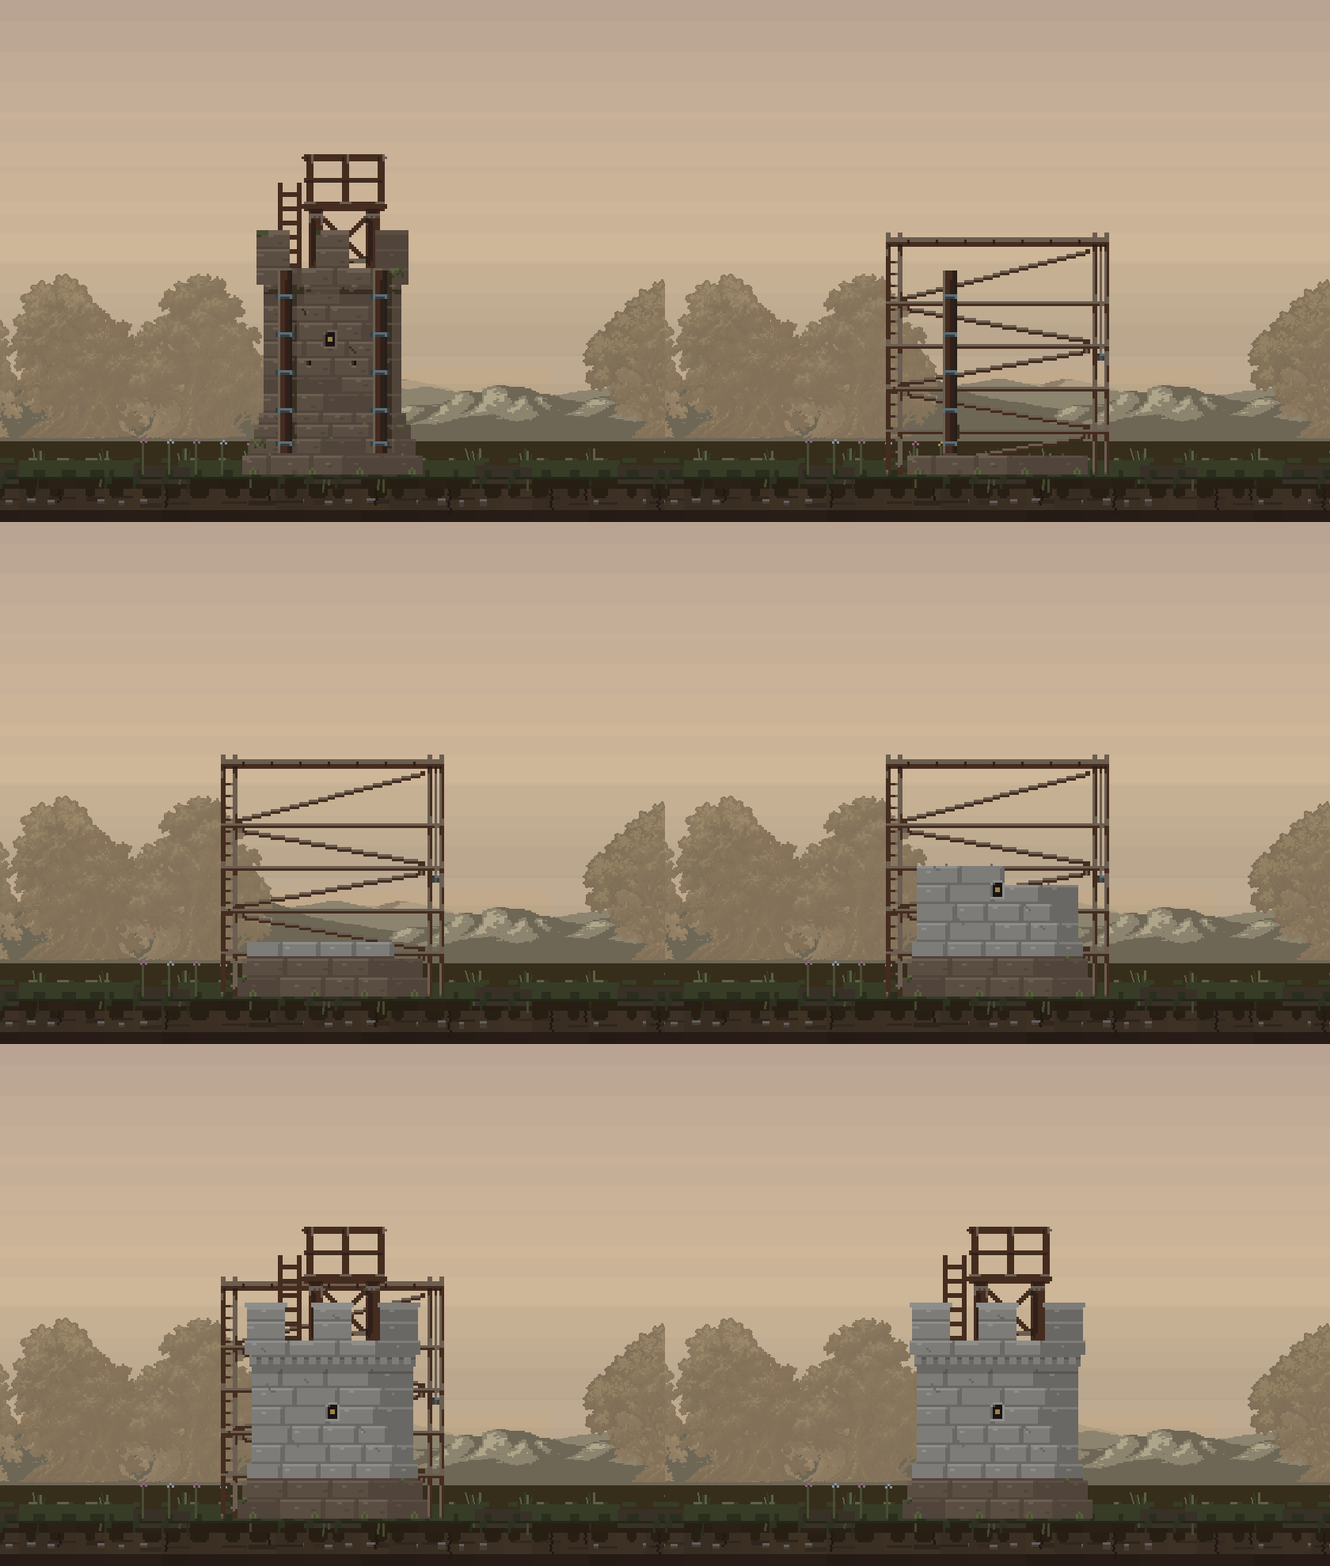
These clips show the complete wall assembly, including its scaffolding, the tier already standing there, and the attached perch used by inner walls. Workers and progress indicators are hidden so you can follow the construction itself.
Building on what already stands
Upgrading does not simply swap one picture for another. If the new wall will cover the old tier, it rises around it. If their shapes do not fit, builders clear the old structure first. The old perch comes down when it needs to, the new one is seated on the wall, and the scaffold is struck once the work is done.
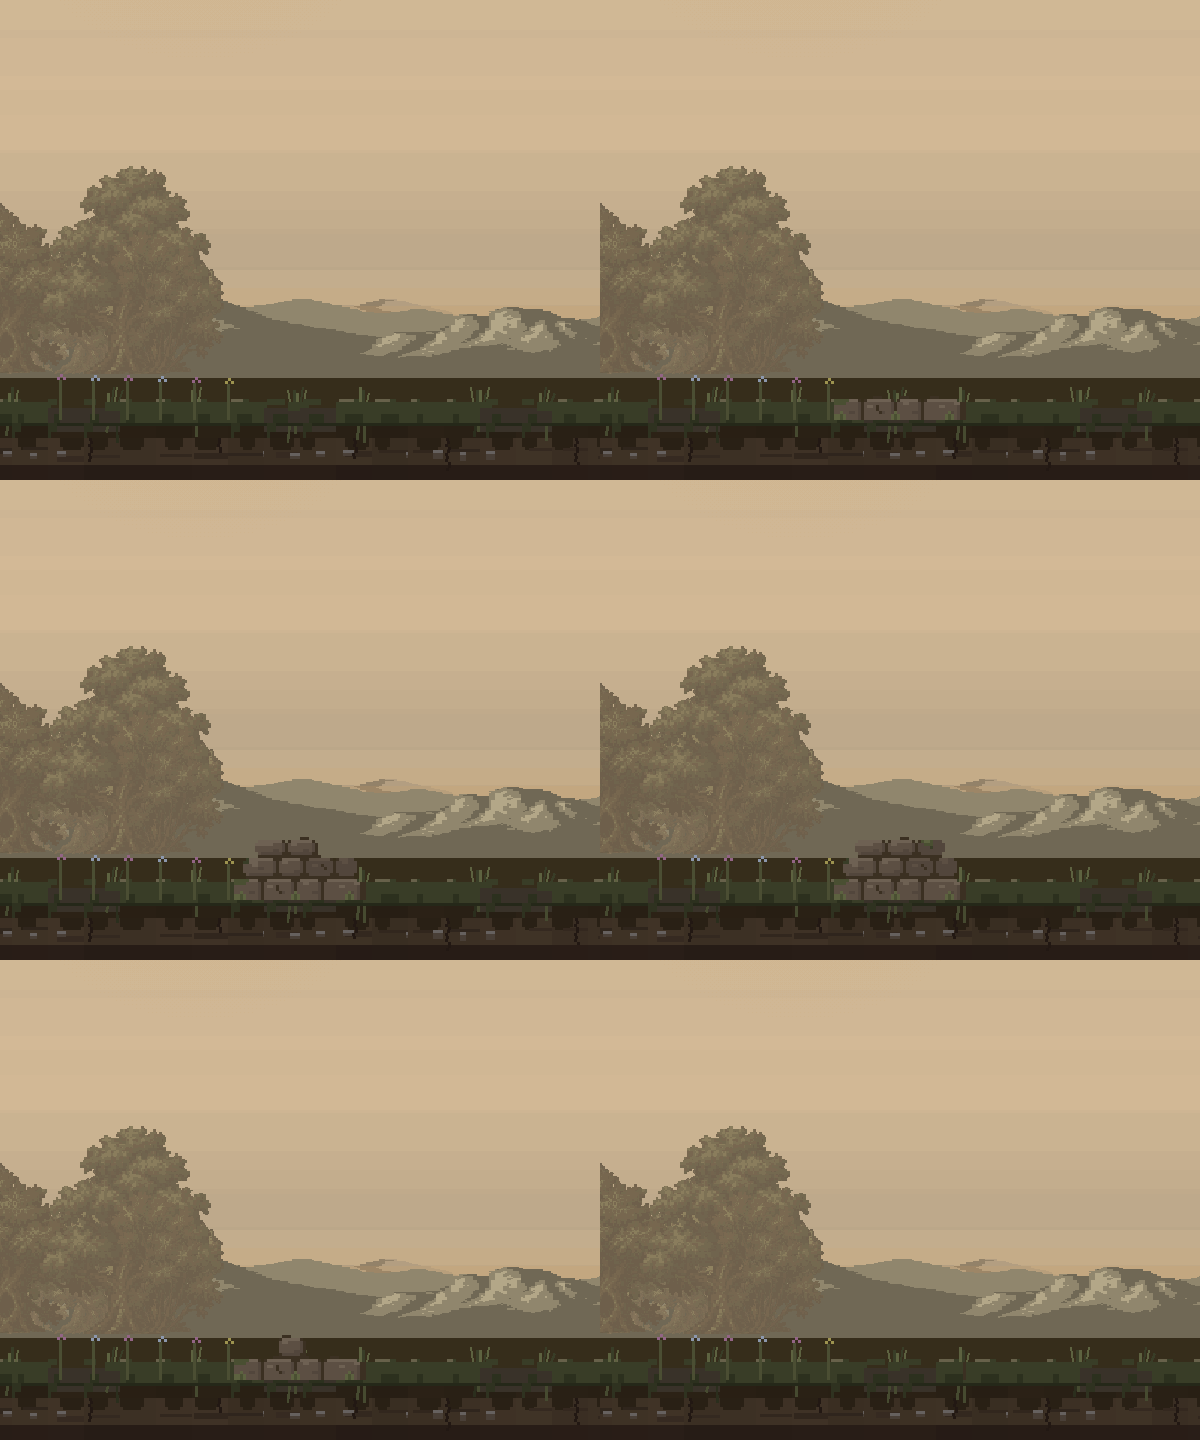
Tier 1 · Stone cairn
Every settlement starts somewhere. A low stack of weathered stones marks the first small foothold around the fire. This tier has no perch.
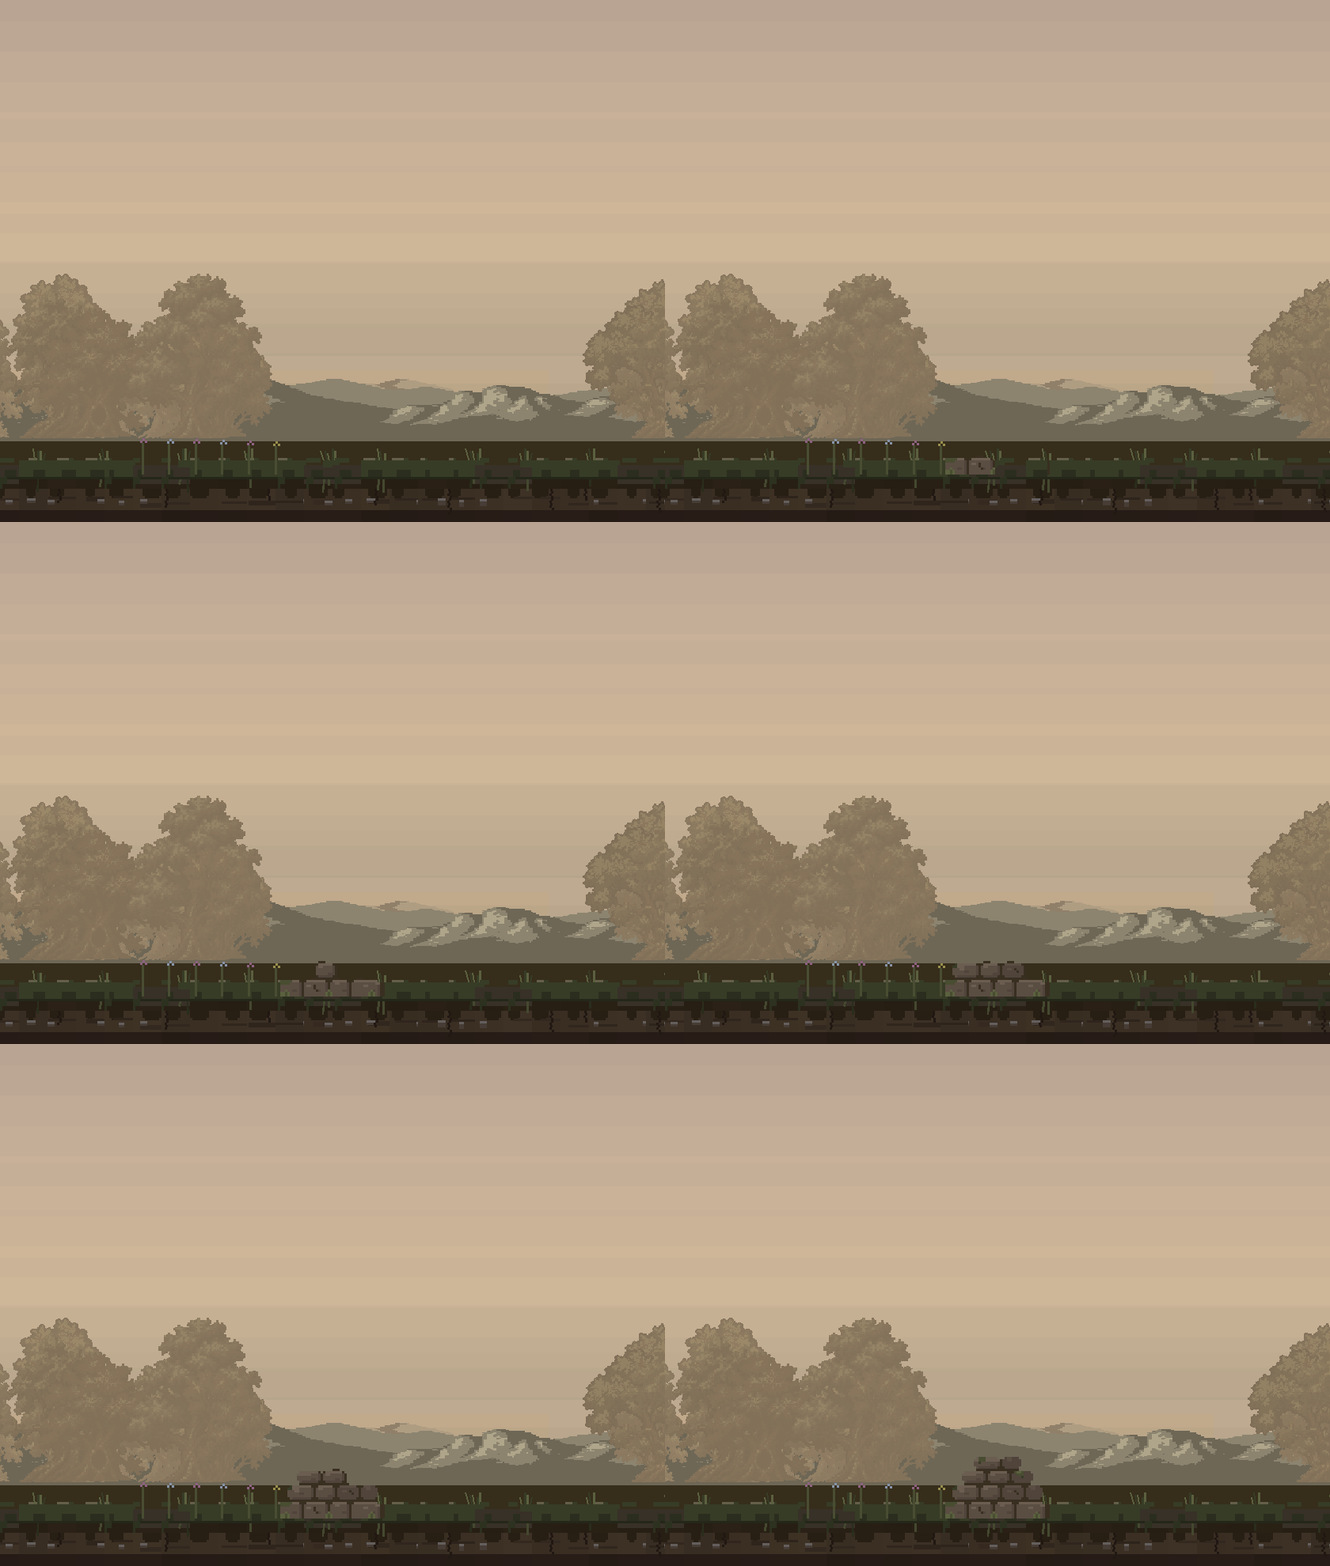
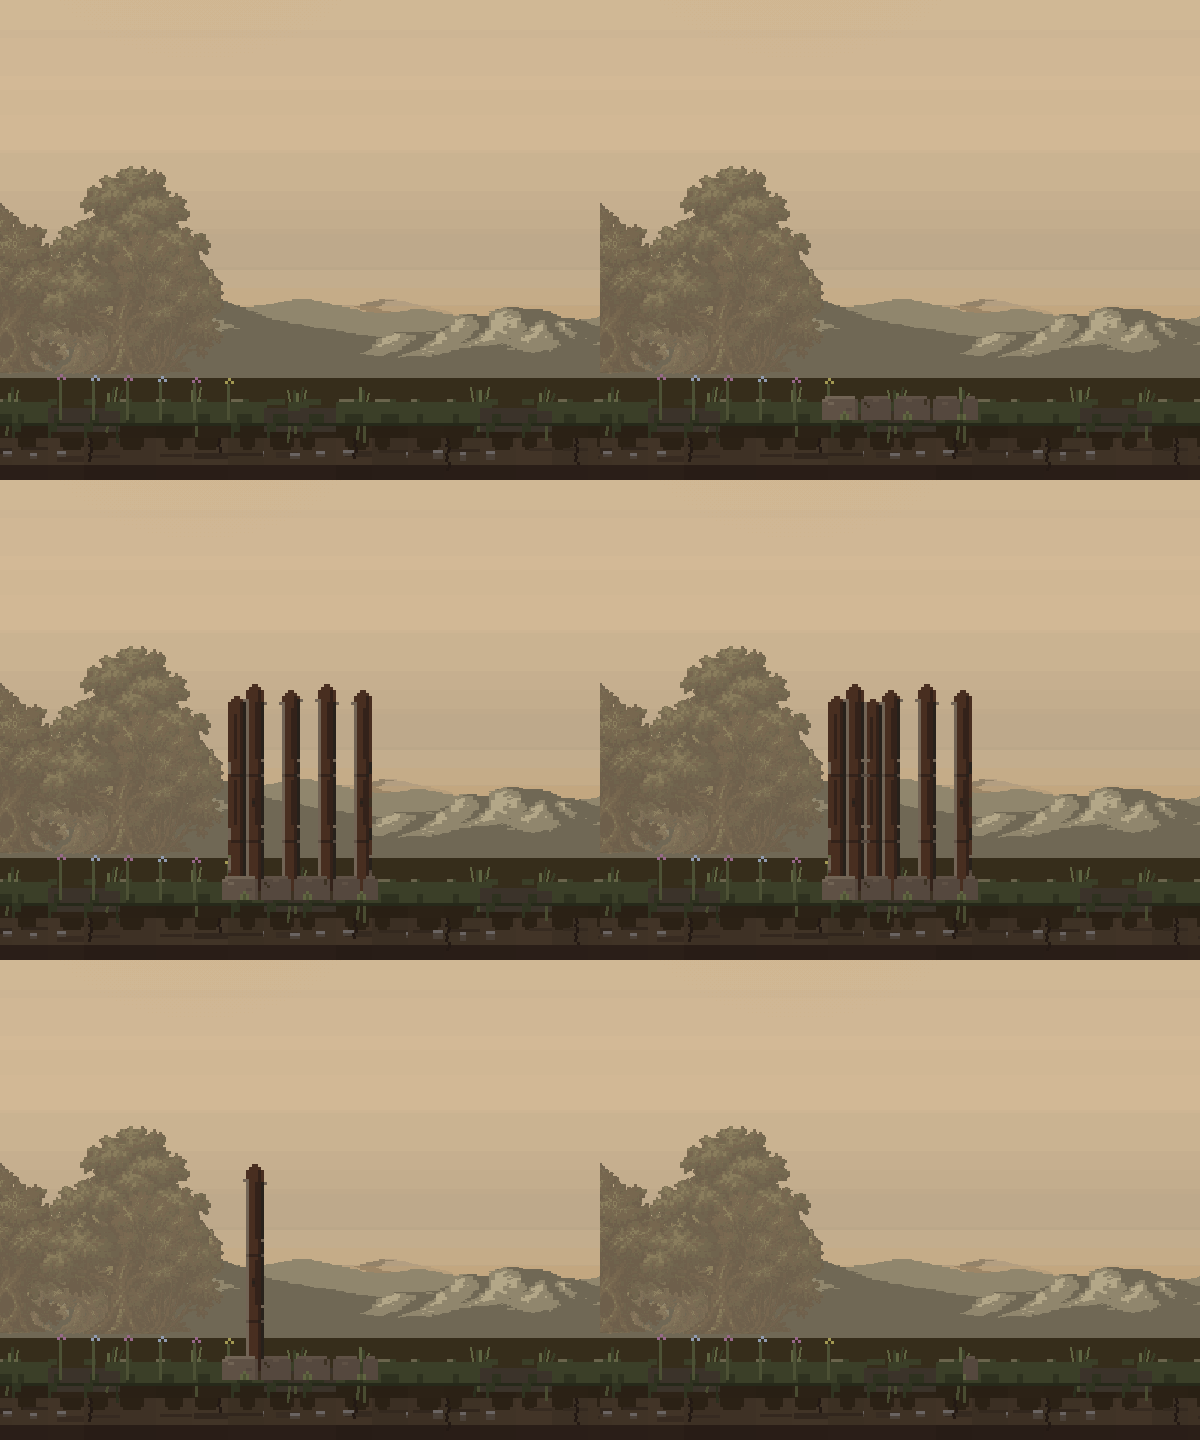
Tier 2 · Stake wall
Timber gives that foothold some height. Watch the scaffold, stakes and bindings come together, followed by the ladder and the perch above the wall.
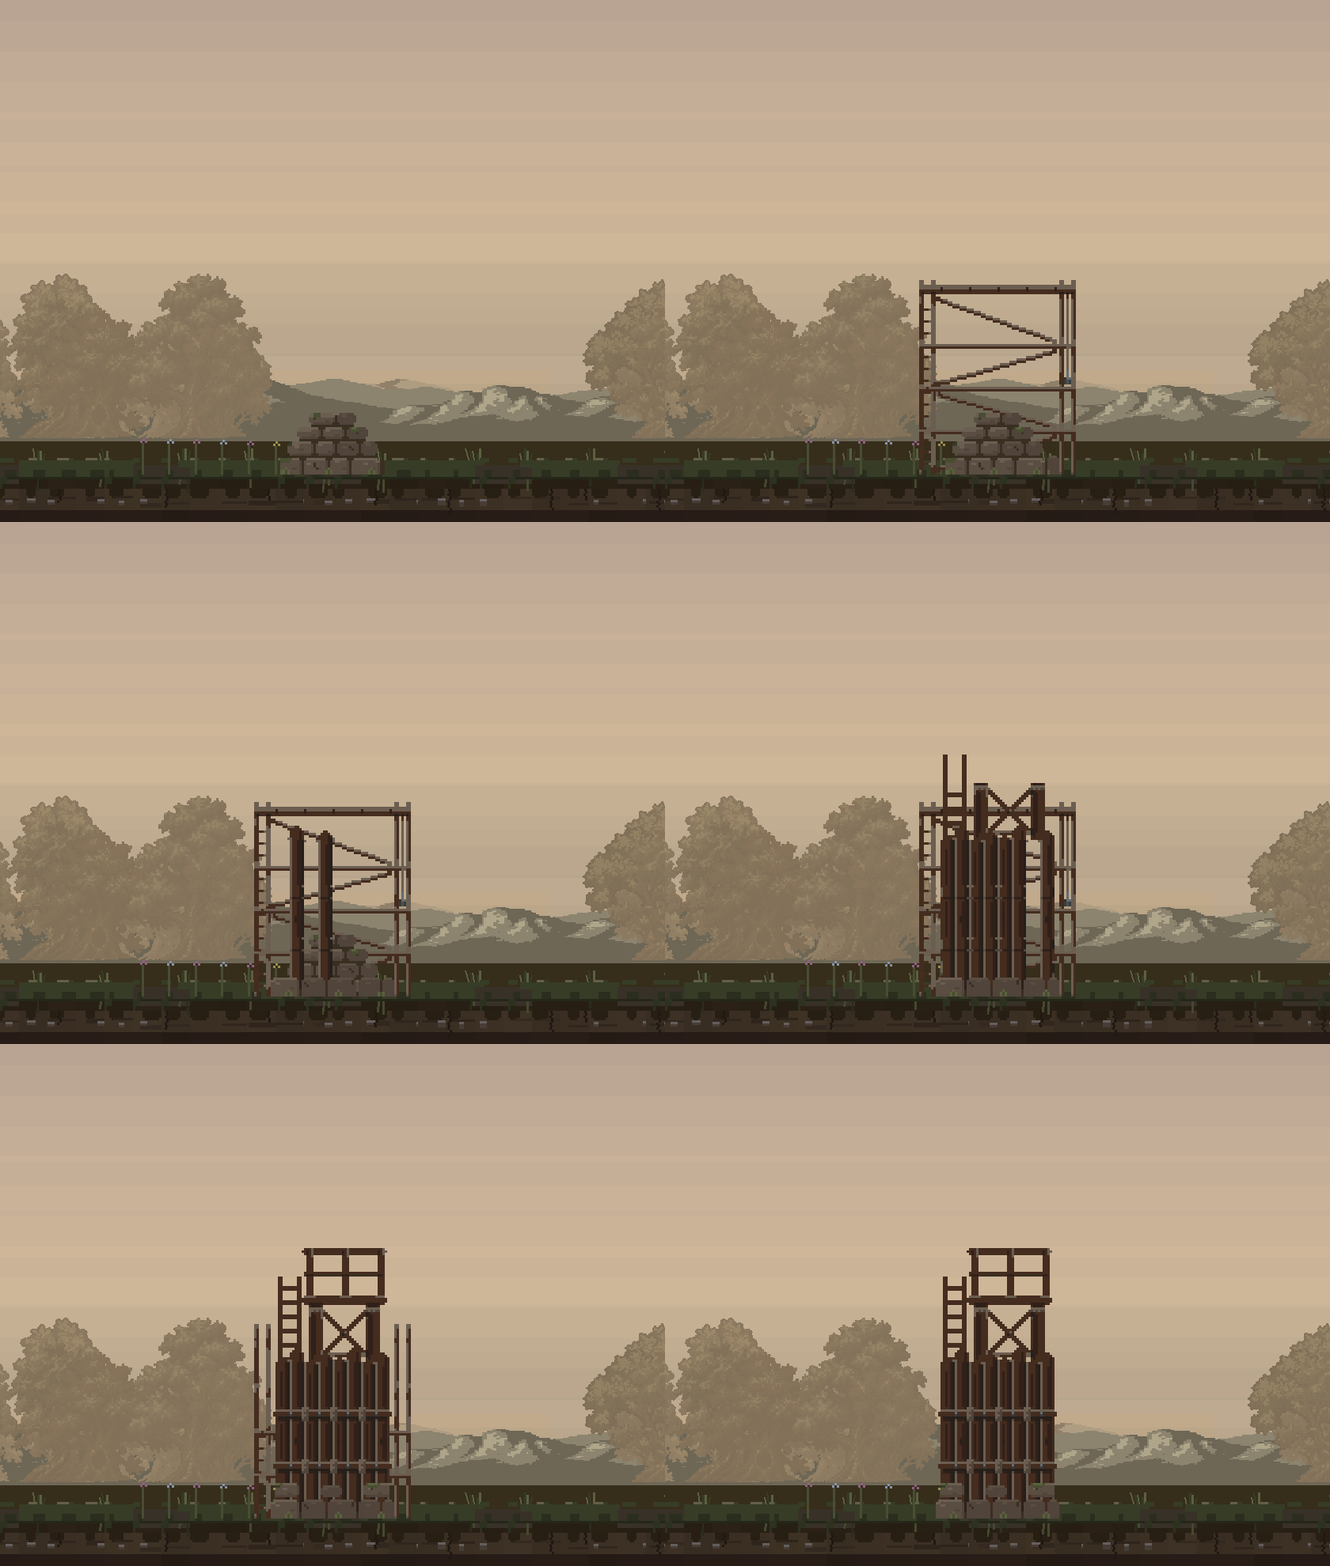
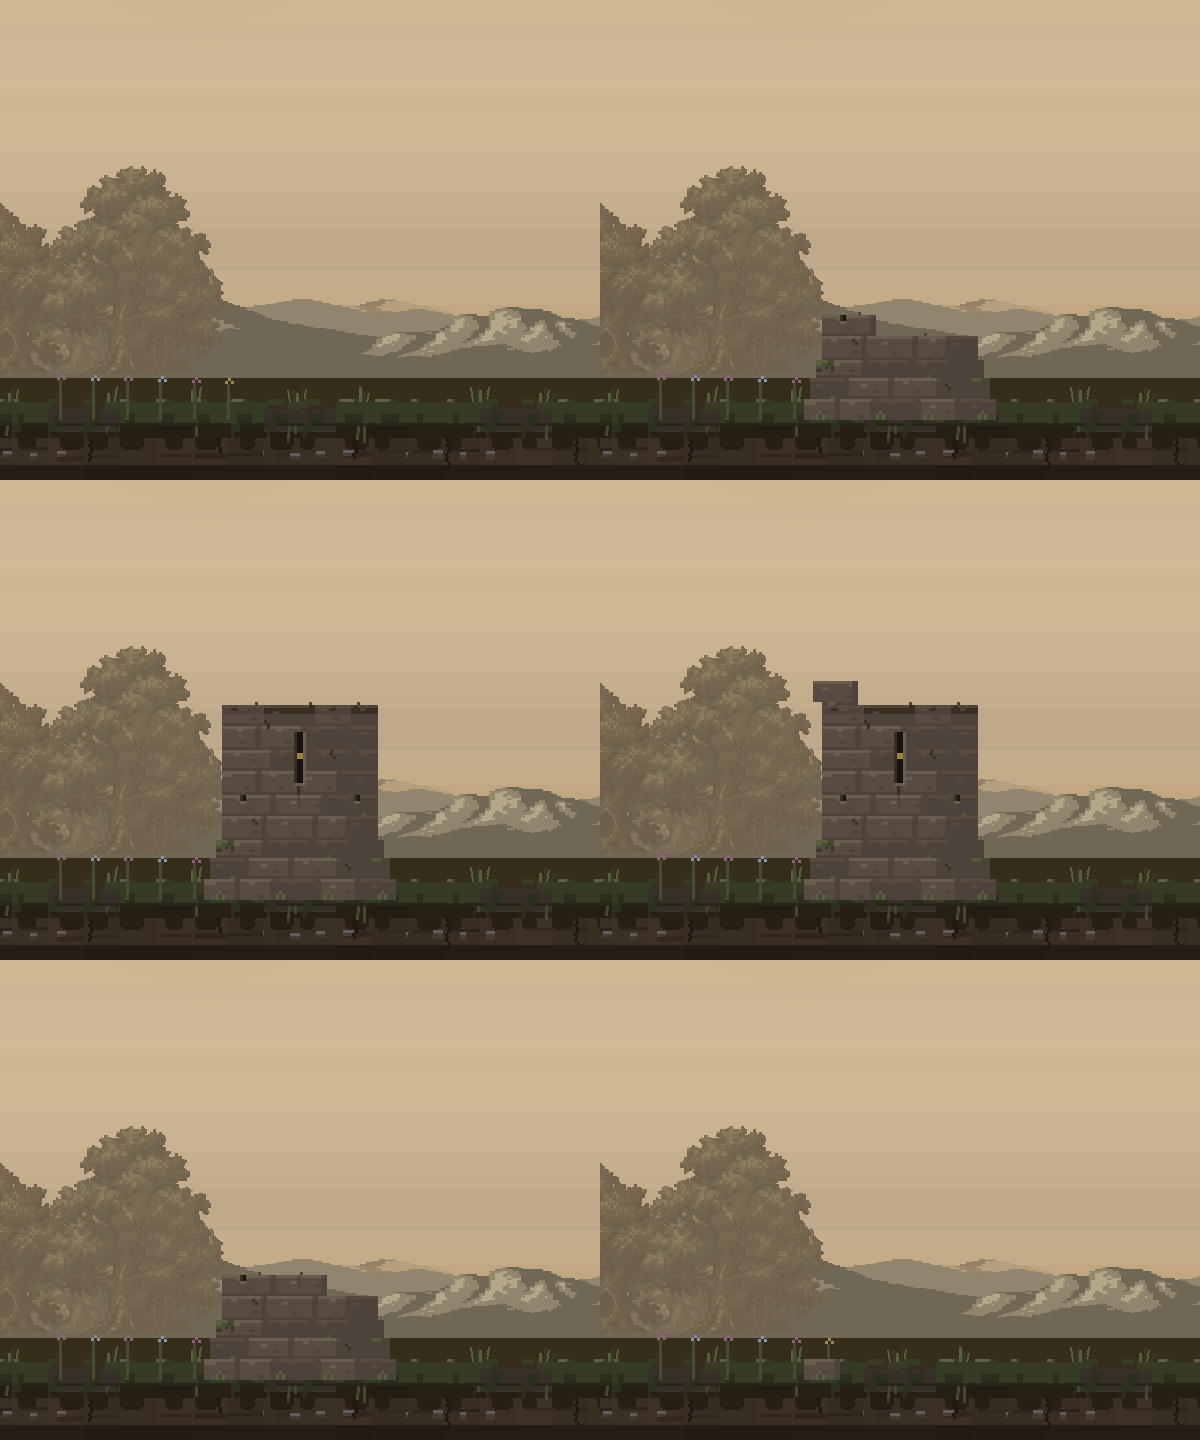
Tier 3 · Runed wall
Masonry rises around the previous structure. An arrow slit and battlements give the new wall its shape, while the platform above remains something defenders can actually reach.
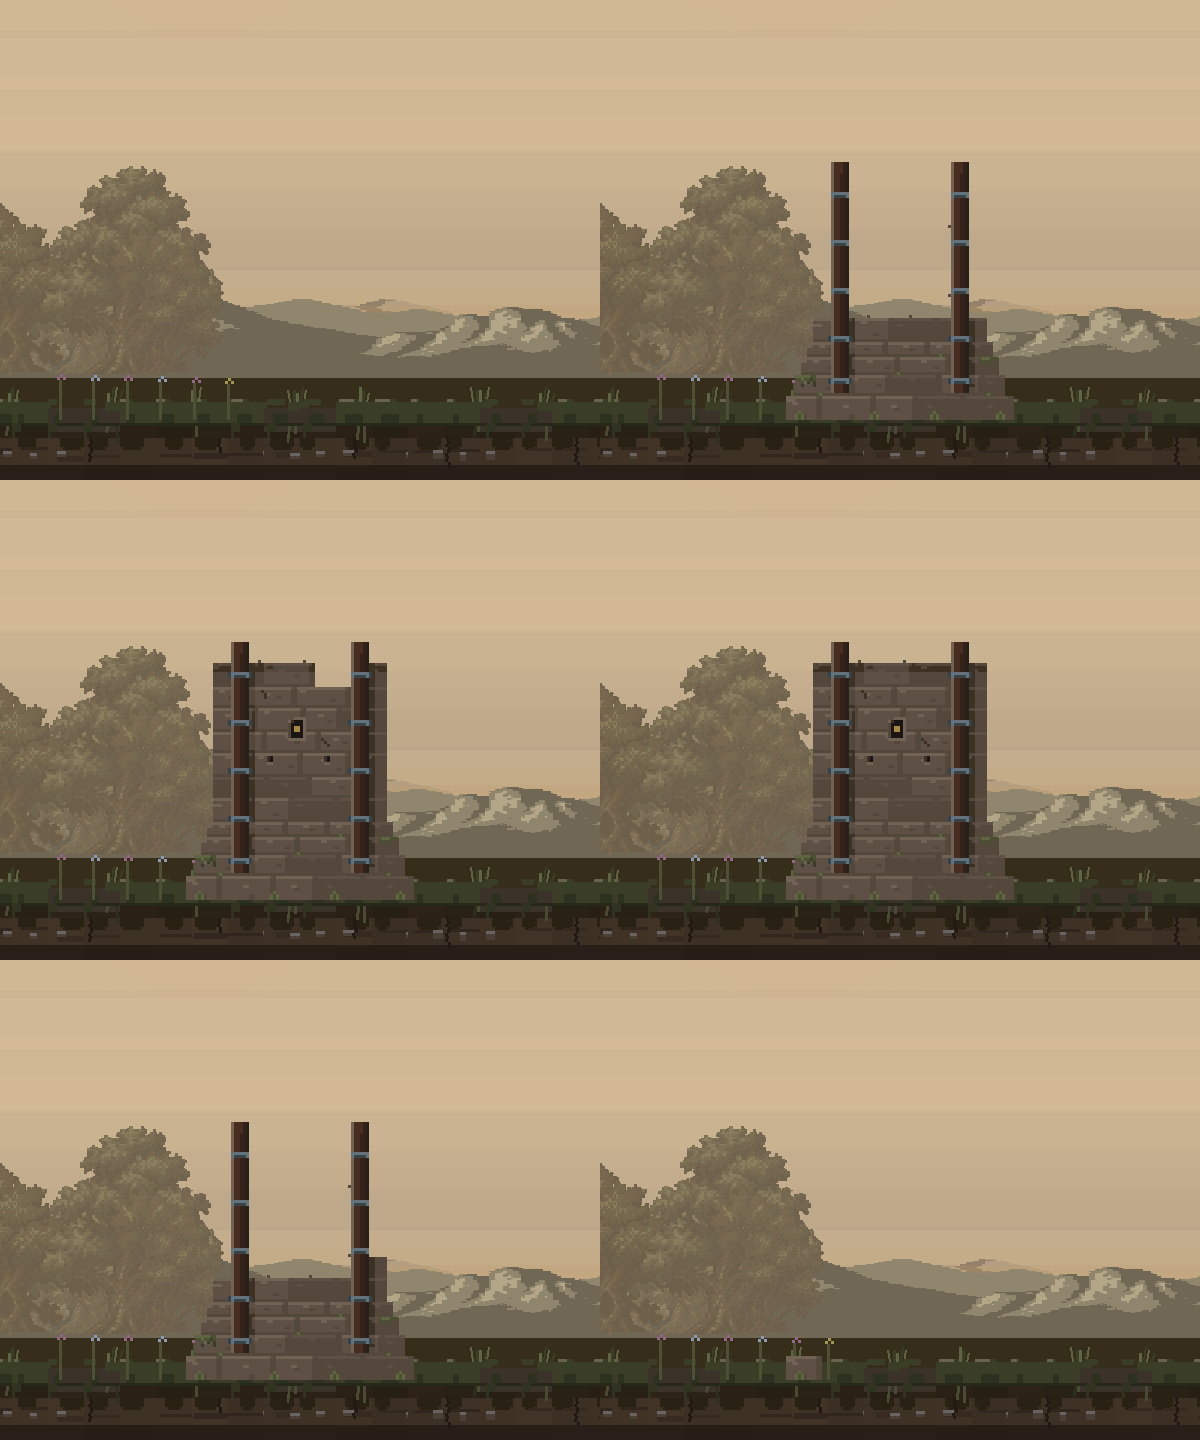
Tier 4 · Soulforge wall
A taller face, heavier footing and reinforced timbers make the silhouette feel sturdier. The upper pieces arrive only after the structure beneath them stands.
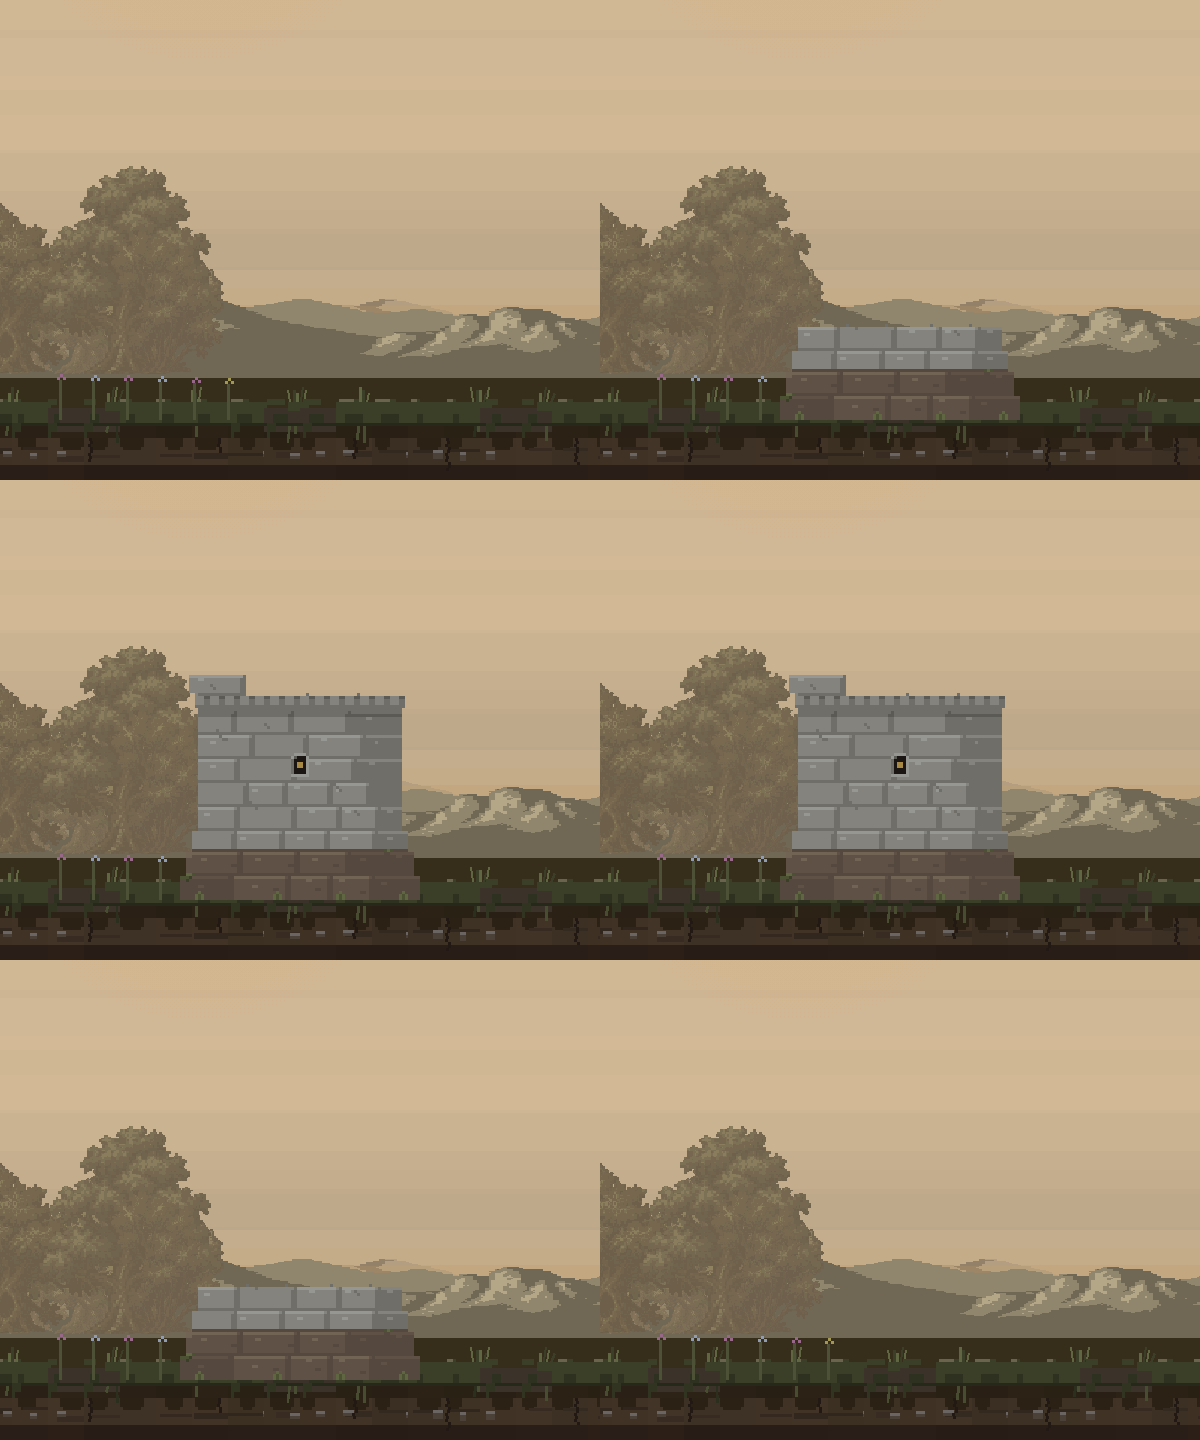
Tier 5 · Marble wall
Pale masonry gives the final tier its own character: broad stonework, a solid base and a clear crown of battlements. A long way from that first little cairn.
The Watchtower has its own ladder of upgrades
An inner wall gains an attached perch as the settlement pushes beyond it. The outer wall works differently: once it reaches Marble, builders can raise a dedicated Watchtower there.
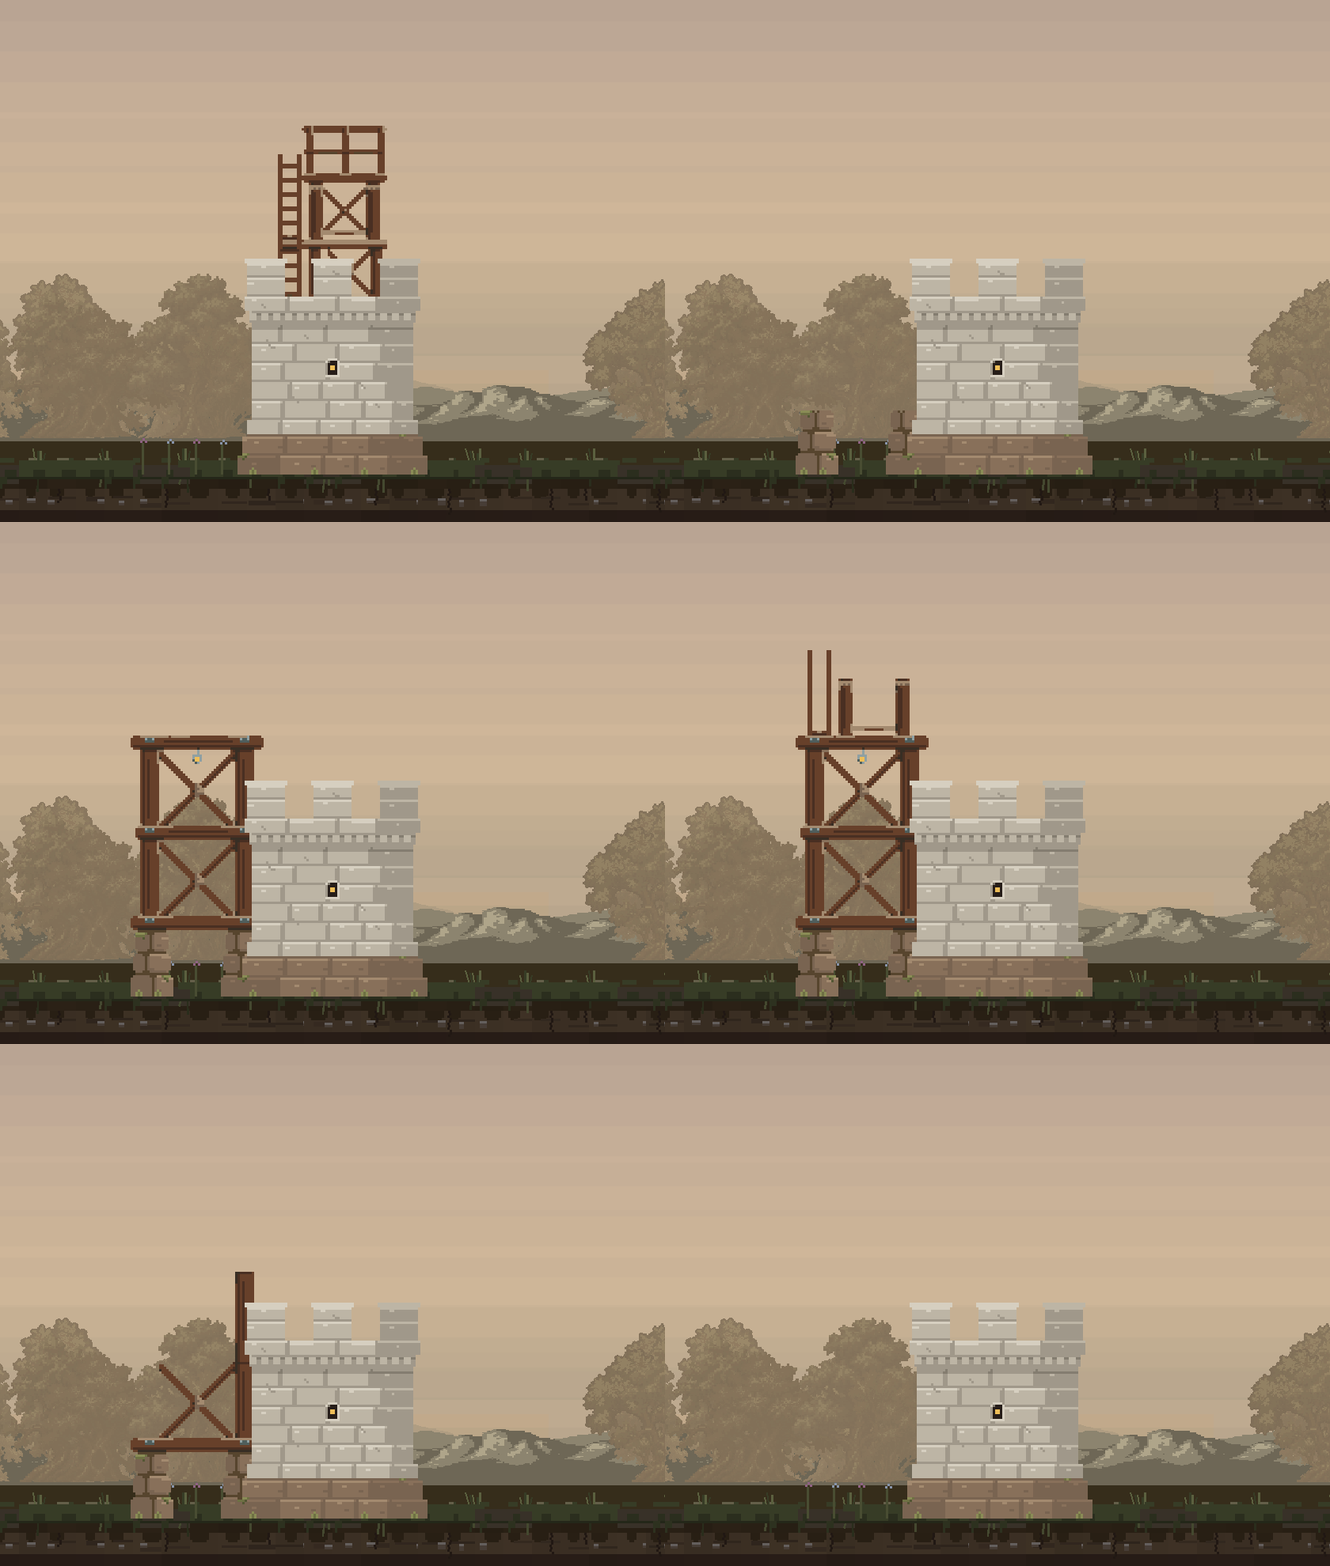
Its first two stages sit on the wall-walk. The final tower stands on the ground against the wall’s inward face. Each clip below shows the actual upgrade followed by the tower being dismantled, with the Marble wall left standing.
Watch Perch
The first platform gives the outer Marble wall a raised place for its defenders.
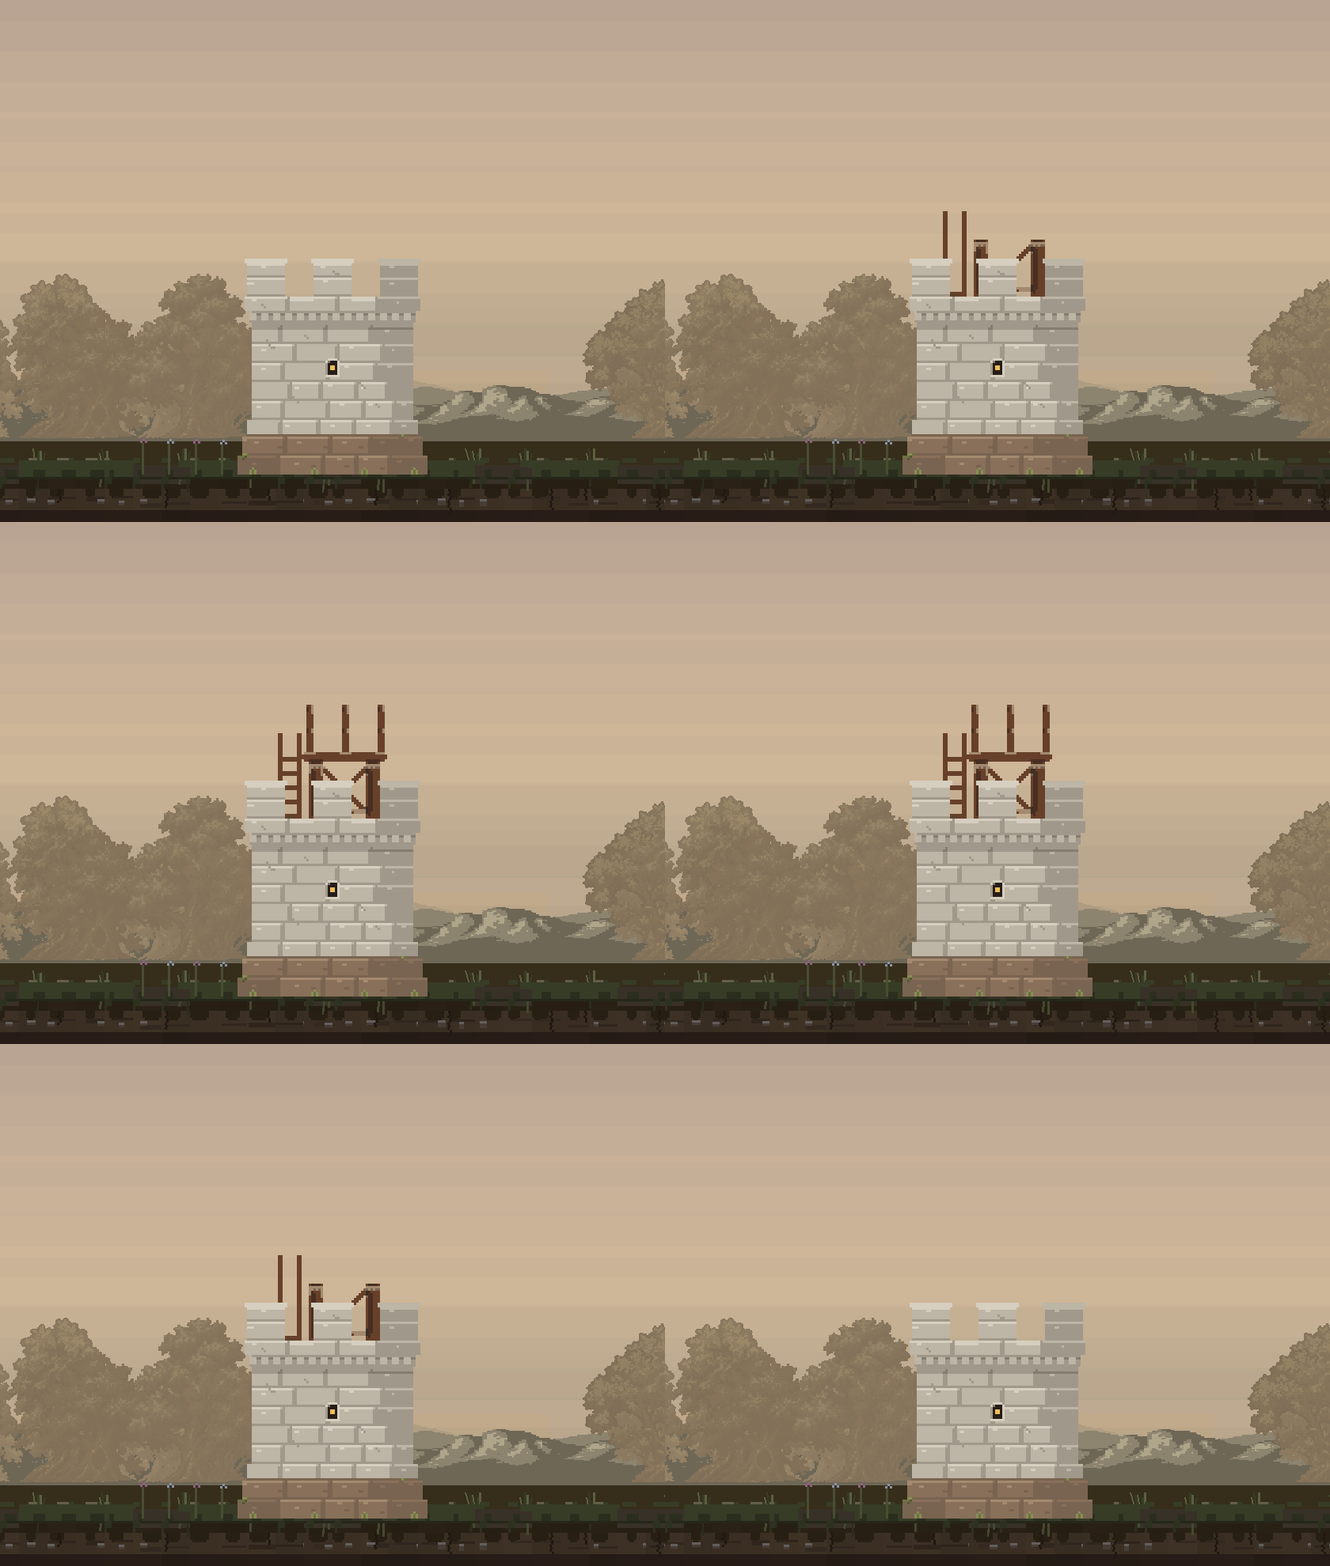
Watch Trestle
The smaller perch comes down before the taller trestle takes its place. Its legs and ladder remain seated against the wall.
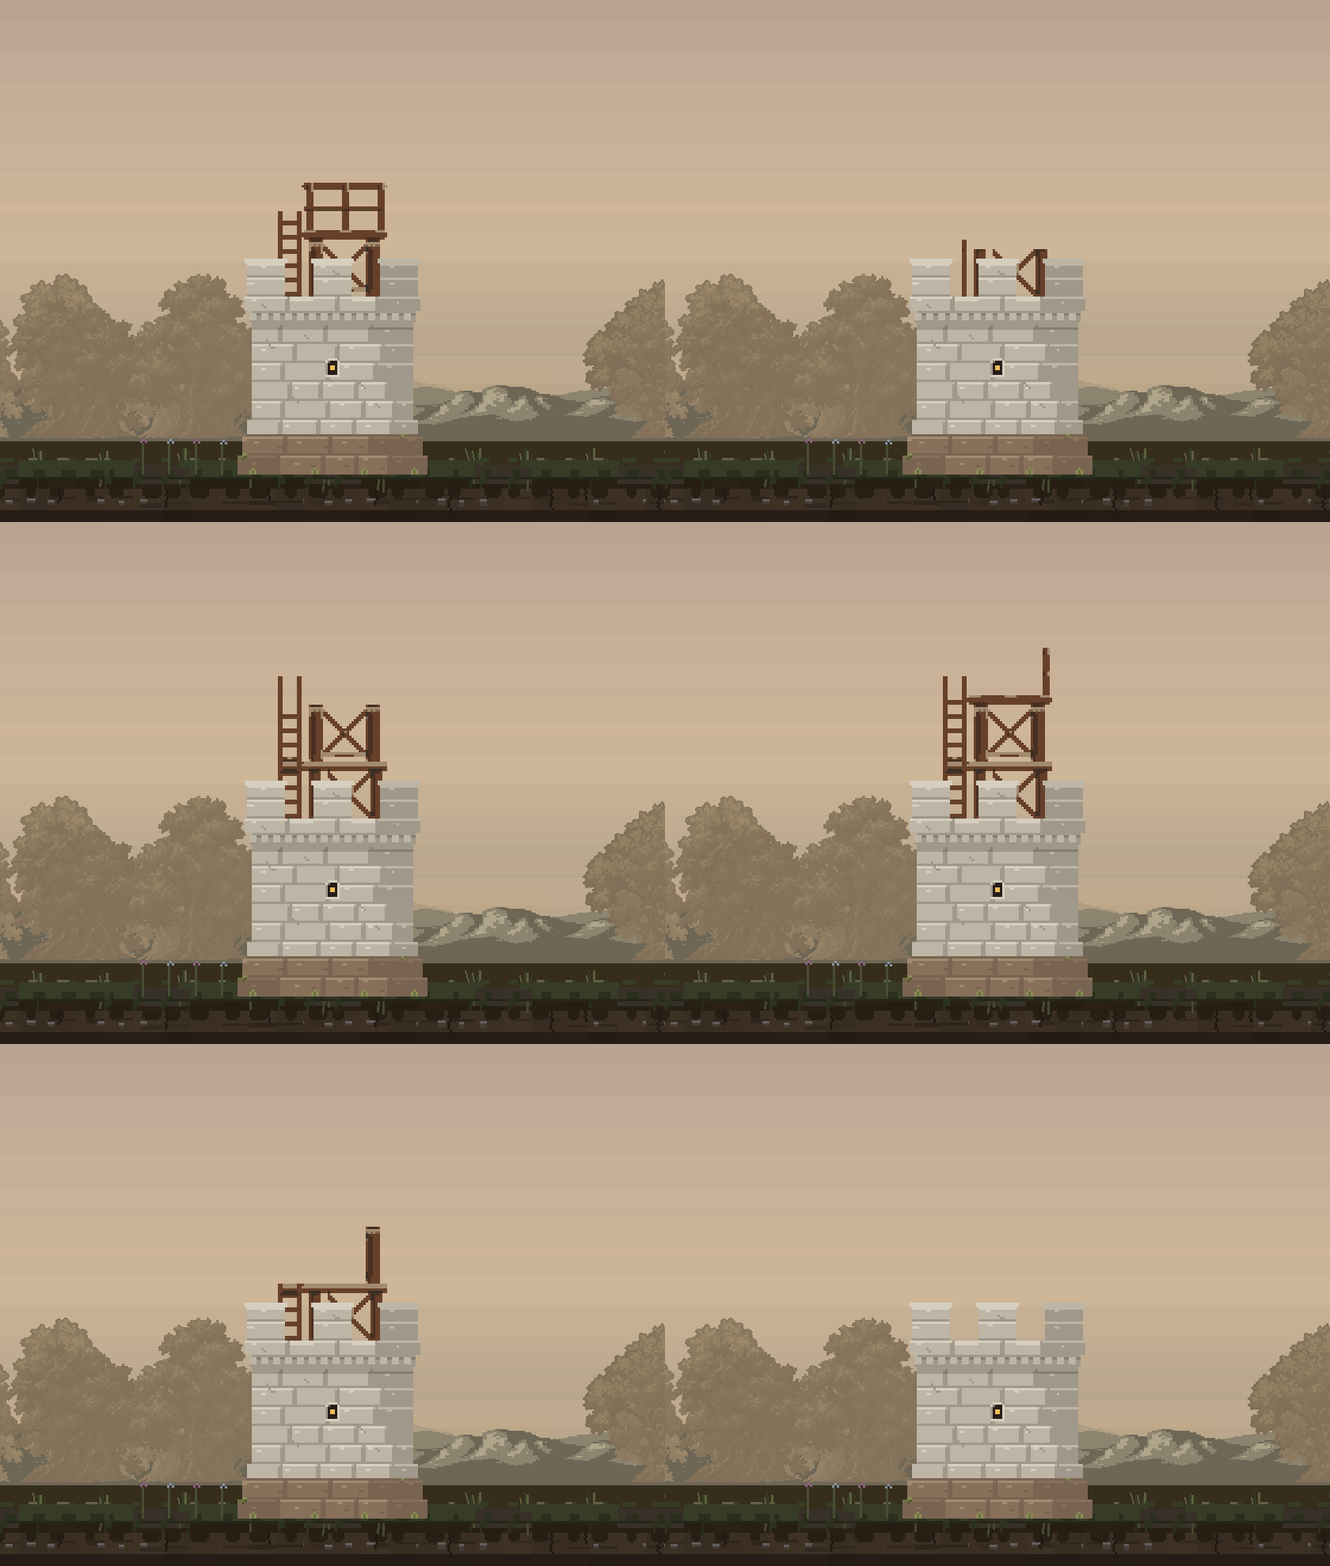
Watchtower
The final stage grows into a separate timber tower beside the wall. Its feet reach the ground, and its ladder connects the approach to the deck above.
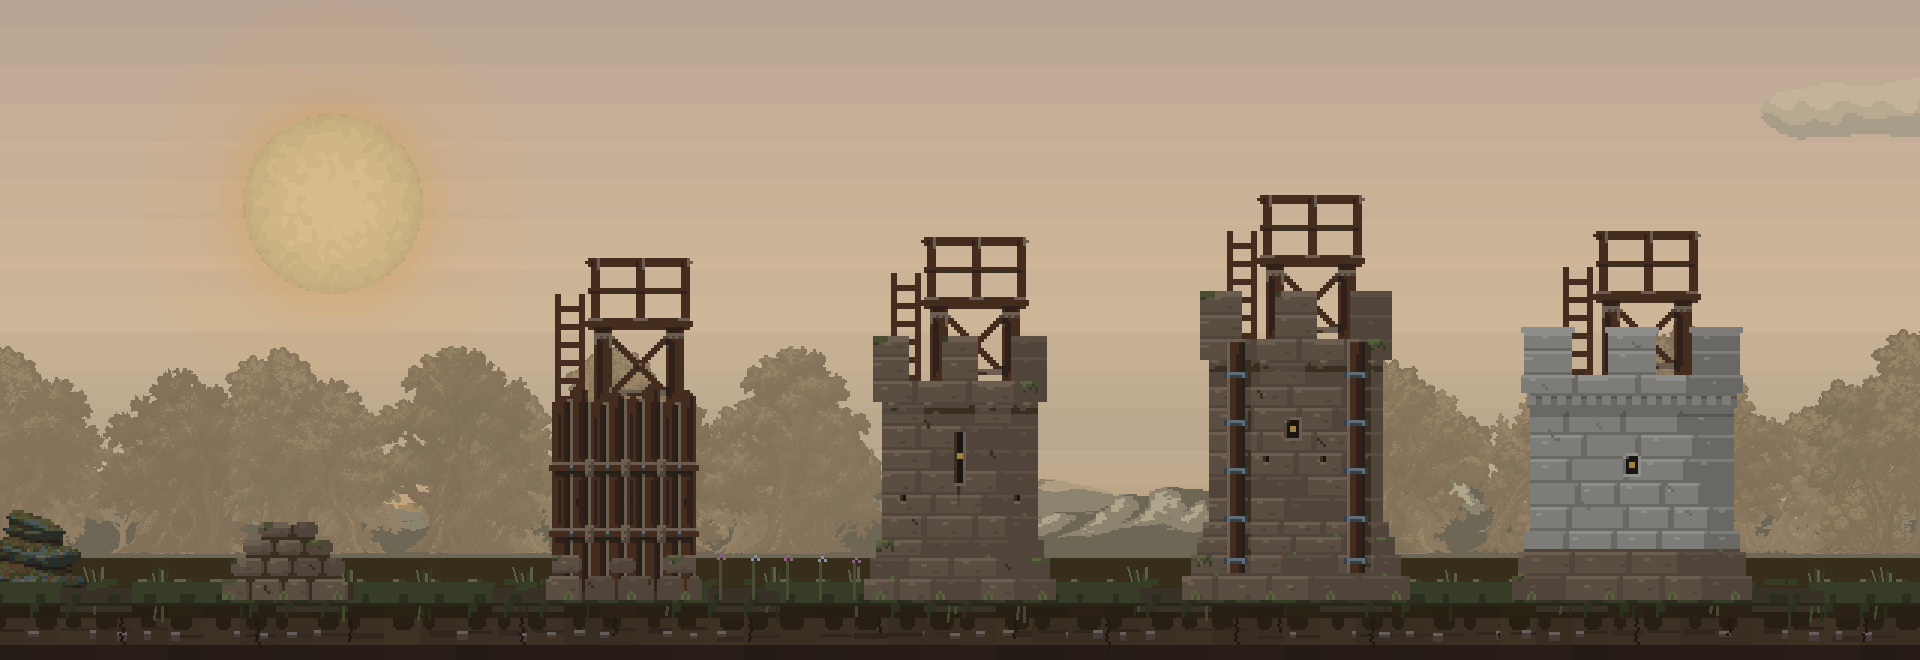
All five walls, fully built
Here are the five tiers at the same scale, including their attached perches and ladders. These are the inner-wall versions; the dedicated Watchtower shown above belongs to the outer Marble wall.
For a closer look at the wall art alone, the original build-and-dismantle studies are still here: Stone cairn, Stake wall, Runed wall, Soulforge wall and Marble wall.
When an elite reaches the wall
Building is only half the story. This final, accelerated siege demonstration uses a real Elite Wraith attacking each wall tier at its normal damage per hit. Pieces break away as the wall loses strength, debris falls, and the structure ends in rubble. The last section includes the full Watchtower falling with its Marble wall.
There are no builders repairing these walls during the demonstration. This is a look at how they fail under sustained attack, rather than a prediction of how long a defended settlement will hold.